 Add Row
  Add
Add 


Unlock the Magic of Transformation: Your Ultimate Beginner's Guide to House Painting
Painting is more than just a home improvement task; it is an expression of who you are. Whether you’re refreshing the look of a room or transforming the atmosphere of your entire home, painting is a straightforward and cost-effective project that can yield stunning outcomes. This guide will equip you with essential tips and techniques tailored for first-time painters ready to tackle this exciting DIY endeavor!
Choosing the Right Paint: The Foundation of Success
The journey towards a beautifully painted room begins with selecting the right paint. Your choice of paint type—not just the color—will significantly influence the final appearance and durability of the finish.
For most indoor applications, latex paint is a versatile and user-friendly option. It dries quickly, is easy to clean up, and emits fewer fumes compared to oil-based paints. Conversely, oil-based paints excel in durability and create a smooth finish, making them ideal for trim and high-traffic areas, but they require longer drying times and solvents for cleanup. Understanding the differences between these paint types is crucial for setting yourself up for success.
Understanding Paint Finishes: A Key to Aesthetic Appeal
Paint finishes can make a dramatic difference in how your room looks and feels. Here’s a quick guide:
- Flat/Matte: Hides imperfections but is harder to clean.
- Eggshell: Provides a soft sheen without compromising durability.
- Satin: A balanced choice, good for everyday areas.
- Semi-Gloss: Perfect for moisture-prone areas like kitchens and bathrooms.
- Gloss: Highly durable, excellent for trims, but can highlight imperfections.
Choose a finish that complements the functionality of the space, maximizing both durability and aesthetic appeal.
Essential Tools and Supplies: Setting Up for Success
Before you grab a brush, assemble your toolkit to ensure a smooth painting experience:
- Quality paint (plus primer if necessary)
- Rollers and trays
- Angled paintbrushes for edges
- Painter’s tape for clean, straight lines
- Drop cloths or plastic sheeting to protect floors
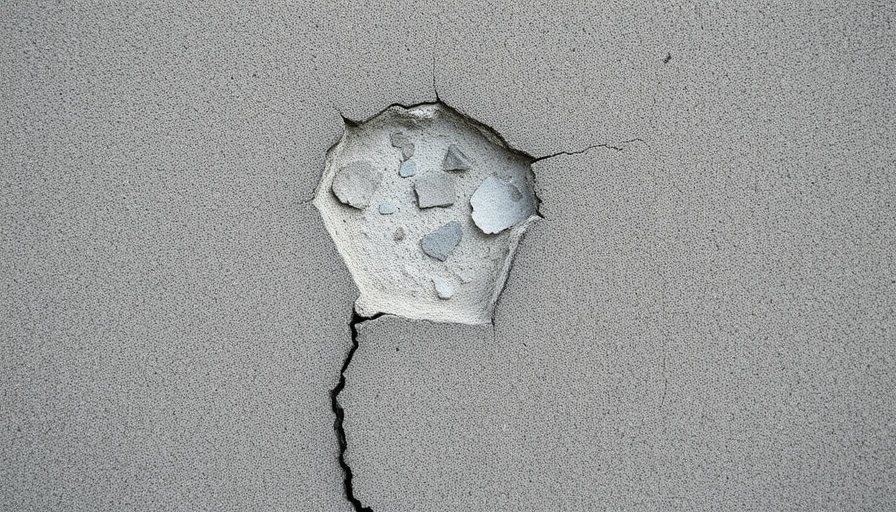
- Spackling paste and putty knife for repairing wall imperfections
- Sandpaper for smoothing surfaces
- Stir sticks, extension poles, and ladders for hard-to-reach areas
- And don’t forget the gloves and clothes you won’t mind getting paint on!
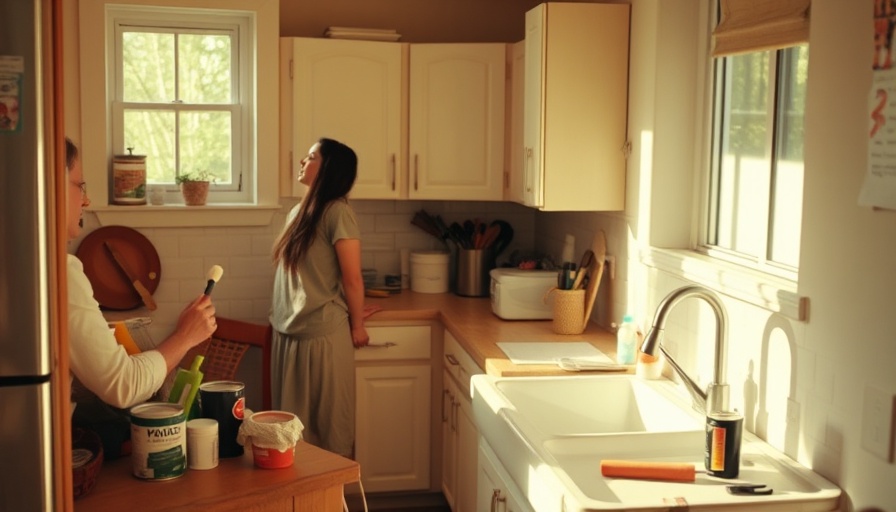
Preparation: Laying the Groundwork
The key to a professional-looking finish is preparation. This means moving furniture away from the walls, cleaning the surfaces, and repairing holes or dents. Ensure that your walls are clean before painting; dirt and oils can prevent a solid bond, leading to chipping and peeling.
Measuring and Estimating Paint Requirements
To determine how much paint you’ll need, measure the surface area of your walls and subtract the area for doors and windows. Typically, one gallon of paint covers around 350 square feet with one coat. Remember to consider the need for primer when changing colors drastically or dealing with dark tones.
When you’ve calculated your total, round up slightly to ensure you have enough paint to complete the job.
Applying Techniques for a Flawless Finish
Applying paint might seem straightforward, but there are effective techniques that can elevate your work:
- The W Technique: Use a roller to apply paint in a ‘W’ shape, then fill in the gaps to ensure a smooth, even coat.
- Maintain a Wet Edge: Overlap your strokes to avoid lap marks, ensuring an even finish across all areas.
- Work Top to Bottom: Always paint from the ceiling down to prevent drips on freshly painted walls.
Additionally, paint the trim first, allowing you to avoid meticulous taping around it later when you tackle the broader walls!
Cleanup and Final Touches: The Finishing Line
Once you've completed painting, it's crucial to conduct a thorough cleanup. Remove painter's tape while the paint is still slightly wet or after it has dried completely to avoid peeling. Touch up any imperfections with a fine brush once everything has dried completely.
Conclusion: Embarking on Your Painting Project
Pleasing results and a transformation await you as you embark on this DIY painting journey. Utilize the insights shared, and remember that practice makes perfect. Whether decorating your coastal home on St. Simons or giving a refresh to a bathroom on Jekyll Island, allow your personality to shine through your choices!
Ready to start painting? Roll up your sleeves and dive into the colorful world of home improvement.


Write A Comment