 Add Row
  Add
Add 


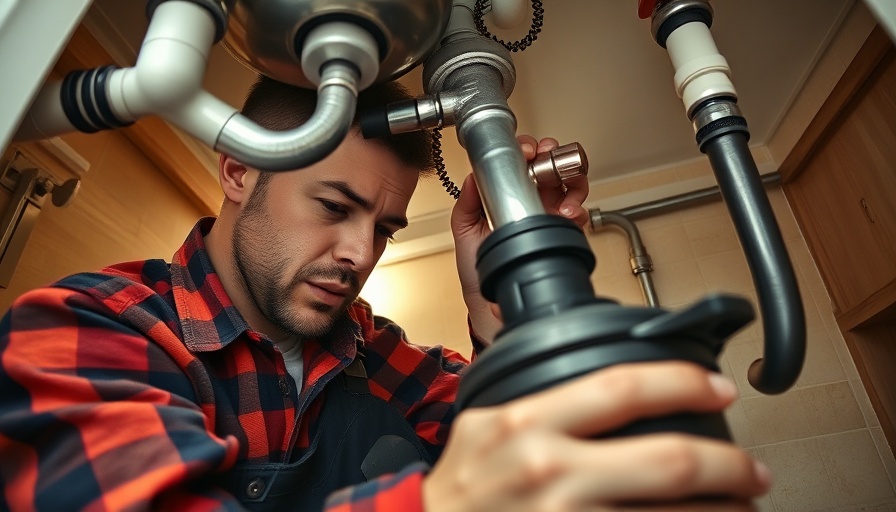
Mastering the Art of Garbage Disposal Removal
Removing a garbage disposal may seem daunting, but having a reliable guide can empower anyone to take on this commonly underestimated task. Whether you're upgrading your appliance or responding to an inevitable malfunction, mastering this skill is essential for any homeowner. Let's break down the process into manageable steps!
Why You Might Need to Remove Your Garbage Disposal
Garbage disposals can present a range of issues, from clogs caused by inappropriate waste to age-related breakdowns. Removing your disposal can open up opportunities for kitchen renovation or simply restore a more traditional sink setup. Understanding your need might also come from wanting to switch to an eco-friendly waste management alternative, making this task timely and relevant!
Step-by-Step Guide: What You'll Need to Prepare
Before diving into the removal process, it's crucial to gather all necessary materials:
- An adjustable wrench or pliers
- Screwdrivers (flathead and Phillips)
- A bucket or towels to catch any spills
- A voltage tester to ensure the power is disconnected
- A putty knife for scraping off old plumber's putty
Having these tools handy will not only save time but also ensure safety throughout the removal process!
Safety First: The Crucial Precautionary Steps
Any home improvement project involving electricity and plumbing carries risks. Start by shutting off the power supply either by unplugging the unit or switching off the circuit break. Don’t forget to turn off the water supply to avoid unnecessary mess!
As an added precaution, make sure to wear gloves and safety goggles. Cleaning the project area beforehand also helps establish a safer and more comfortable workspace.
Removing the Disposal: Step-by-Step Instructions
Now, let's get into the actual removal process. Here’s a simple breakdown:
Step 1: Disconnect the Power Supply
Begin by ensuring the power is off using your voltage tester. If the appliance is plugged into an outlet, ensure it is unplugged.
Step 2: Remove Drain Lines
With a bucket or towels in place to catch spills, loosen and disconnect the drain lines. This may typically involve using pliers to detach the hose or pipe connecting the disposal to the sink.
Step 3: Unscrew the Disposal
Next, you’ll need to unscrew the garbage disposal. Using an adjustable wrench or screwdriver, loosen the mounting hardware that holds the disposal to the sink. Once loosened, you can gently twist or lift the unit away from the mounts.
Step 4: Final Disconnection
If you have a dishwasher connected via a hose, don't forget to take that off, too! With everything unplugged and unscrewed, you can safely remove the garbage disposal from under the sink.
What to Do After Removal: Clean-Up and Next Steps
After you have successfully removed the disposal, it’s time to tidy up. Clean the workspace and ensure the area is free from any debris. Now you can consider a fresh disposal installation or leave the space clear! Remember to safely discard the old disposal according to local regulations—many communities have specific disposal guidelines that must be followed.
Considerations and Tips for Future Projects
If you’re new to home improvement projects, consider documenting the process with photos or notes for future reference. Familiarizing yourself with the fittings and connections can make future repairs or replacements much smoother. When in doubt, reach out for professional guidance—safety and comfort always come first!
We all tackle home improvements at some point. Understanding how to remove your garbage disposal equips you with a valuable skill, saving time and money in the long run. Enjoy the satisfaction of taking your kitchen renovation into your own hands!


Write A Comment