 Add Row
  Add
Add 


Shower Head Removal: Your Easy DIY Guide
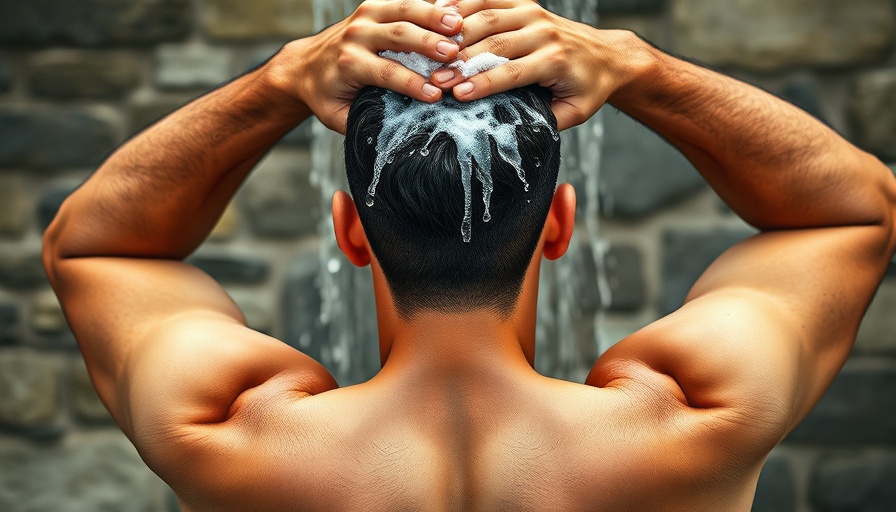
Removing a shower head may seem daunting, but it’s a simple task that even kids aged 11 can master with a little guidance. Whether you're tired of old fixtures, want a deep clean, or need to upgrade, knowing how to safely take down a shower head is invaluable.
Getting Ready for the Job
First things first, gather your supplies. You'll need an adjustable wrench (or pliers), Teflon tape for reattachment, and a rag for cleaning. A towel to protect the shower floor is also recommended to catch any falling debris.
Safety Comes First
Before you start, make sure to turn off the water supply to avoid any mess. Use personal safety equipment like gloves and goggles to protect yourself from any potential hazards, especially if corrosion is involved. These safety steps will help you avoid slipping or scratching your shiny fixtures!
Step-by-Step Removal Process
The actual removal is easier than you might think. Begin by firmly grabbing the shower head. If it's a simple screw-on type, just turn it counterclockwise to unscrew it.
If it's stuck, don’t get frustrated! Sometimes mineral deposits can make things tricky. You can use a penetrating lubricant like WD-40 or apply a vinegar solution to loosen grimy spots. Let it sit for a little while, then try again to turn it until it loosens up completely.
For stubborn heads, grasp the base with a wrench, ensuring a cloth is wrapped around to prevent scratches. Remember, it's okay to use a little extra pressure, but be gentle to avoid damaging the shower arm.
Cleaning Time!
Once the shower head is off, it’s a great time to clean both the head and the neck of the arm. You can soak the shower head in a vinegar bath to remove mineral build-up. Meanwhile, wipe down the shower arm with a cloth to ensure a clean surface for the new head.
Installing the New Shower Head
With everything clean, grab your new shower head! Before attaching it, make sure to wrap Teflon tape around the threads of the shower arm. This step helps create a watertight seal and prevents leaks.
Carefully screw your new shower head onto the arm by hand first, and then give it a slight tightening with your wrench—just enough to ensure it's secure but not over-tightened!
Final Checks
After everything is back in place, turn the water supply back on. Check for leaks by observing the connection closely as the water flows. If you spot any trickles, a slight turn of the shower head might do the trick!
Now, sit back and enjoy your clean, refreshed shower. Not only does a new shower head improve your bathing experience, but it can also significantly enhance the overall aesthetics of your bathroom!
Why Knowing How to Remove a Shower Head is Valuable
In a world where DIY skills are becoming more appreciated, learning how to handle simple tasks like shower head removal not only saves you money on professional plumber visits but also empowers you to take control of your home maintenance. This knowledge fosters independence, enabling you to manage household projects confidently.
Conclusion
You’ve just taught yourself a valuable home improvement skill! By confidently removing and replacing your shower head, you can ensure your shower stays in good working order so you can enjoy those warm, refreshing moments to the fullest!


Write A Comment