 Add Row
  Add
Add 


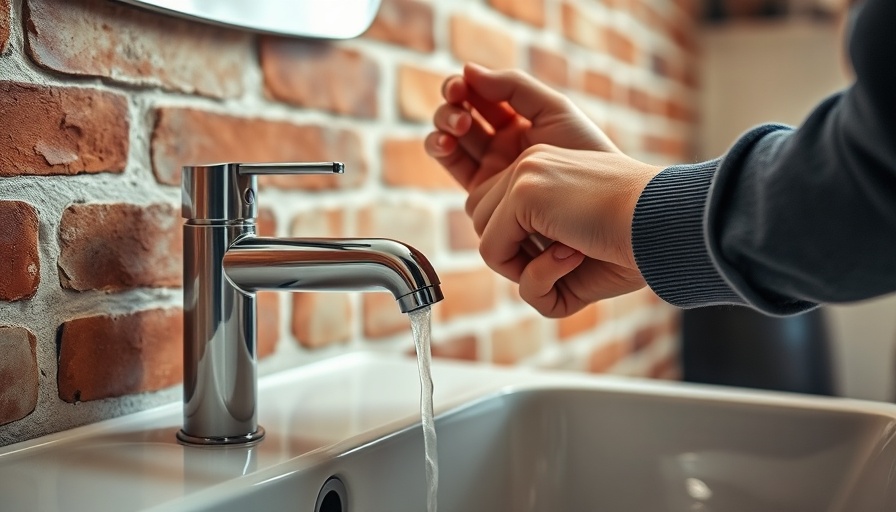
Replacing Your Bathroom Faucet: An Empowering DIY Guide
When it comes to home renovations, few projects are as satisfying or transformative as changing your bathroom faucet. This task may appear daunting, especially for those unfamiliar with plumbing, but with the right preparation and guidance, it can be an easy-to-manage DIY project. Whether you want to refresh an outdated fixture, address a leak, or simply improve functionality, let's explore how you can confidently replace your bathroom faucet.
Preparation: Understanding Your Space and Needs
Before diving in, take a moment to assess your current situation. The first step is to determine the compatibility of your new faucet with your existing sink. Measure the distance between the mounting holes to ensure a proper fit; common configurations include single-hole, centerset, and widespread faucets. A centerset faucet might be ideal for smaller sinks, while widespread options work best for larger bathroom vanities, making use of three separate pieces: two handles and a spout.
Next, inspect the plumbing beneath your sink, specifically the shutoff valves. Located under your sink, these valves control the water flow. Ensure they are functioning properly; if they appear corroded or difficult to turn, it may be worthwhile to replace them. This precaution will save you potential headaches once the new faucet installation begins. It’s also an ideal time to inspect and potentially replace any worn-out supply lines.
Selecting the Right Faucet: Style Meets Functionality
Choosing the right faucet goes beyond aesthetics; it should also align with your plumbing configuration. Different types of faucets cater to varying needs:
- Widespread Faucet: Ideal for bathroom vanities with 6 to 16 inches between holes, offering an elegant and customizable look.
- Center-set Faucet: A compact option for small spaces; combines spout and handles and works best with 4-inch hole spacing.
- Single-Handle Faucet: Merging the spout and handle into one unit, this design enhances efficiency and requires only one mounting hole.
Consider finishes that complement your bathroom decor; options include chrome, brushed nickel, and matte black, each offering distinct vibes for your space.
The Tools You’ll Need: A Quick Check
Before you begin your faucet replacement journey, stock up on essential tools, including:
- Basin wrench
- Plumber's putty
- Thread seal tape
- Adjustable wrench
- Screwdriver
- Microfiber rags and wet wipes
- Drip tray
Being prepared will make your project run more smoothly.
Step-By-Step Installation: Let's Get to Work
1. Turn Off the Water Supply: This is crucial. Ensure both the hot and cold water valves under the sink are turned off to prevent any nasty surprises.
2. Clear the Area: Remove any items stored under the sink and clean the surrounding area to create a safe workspace.
3. Detach the Old Faucet: Disconnect the water supply lines using your adjustable wrench. Unscrew any mounting nuts securing the old faucet in place.
4. Clean and Prepare the Sink: Remove old plumber’s putty or caulk residue to ensure a proper seal with the new faucet.
5. Install the New Faucet: Place the new faucet into its designated holes, ensuring that all rubber gaskets are correctly positioned. Secure it with the included hardware.
6. Reconnect Water Lines: Reattach the hot and cold water supply lines, ensuring all connections are tight but not over-tightened.
7. Test for Leaks: Slowly turn the water supply back on while checking for leaks. If any appear, recheck your connections.
Common Misconceptions: DIY is Possible!
Many homeowners believe that plumbing tasks should be left to the professionals. However, tackling projects like faucet replacement can be a rewarding and financially savvy endeavor. With this guide, you now possess the knowledge required for successful installation.
Final Thoughts: Enhance Your Bathroom's Aesthetic
Changing a bathroom faucet not only enhances the utility of your sink but also significantly upgrades the overall aesthetic of your bathroom. If you find the task overwhelming, don’t hesitate to call in a professional; however, if you feel ready to embrace this DIY challenge, remember that every successful home improvement project starts with preparation and the right guidance.


Write A Comment